But you may be wondering how to insert a line in Word 2013 so that you can separate sections or parts of your document from one another. Our tutorial below will help you to find the option that allows you to do this.
How to Make Horizontal Lines in Microsoft Word 2013
Continue reading below for more information on how to insert a line in Word 2013, including pictures of these steps. Documents can sometimes be difficult to read when there’s just a running string of text. It can also be difficult to indicate where a section ends and another begins. Therefore it can be helpful to know how to insert a horizontal line in Microsoft Word if you want a visual cue that a section is ending, or that something new is beginning. Horizontal lines are a great way to break up sections of a document. You have probably seen others use this object to great effect, and you might now find yourself editing a document where those horizontal lines would be helpful. Perhaps you have determined that a line full of underscore characters is the best way to create the horizontal line, but Word actually gives you a couple of other options. Our guide below will show you how to add a horizontal line in Word using both a button in the ribbon and a keyboard shortcut. You can then use whichever of those options you find to be the most convenient. If you also use Google’s word processing application, then find out how to draw a line through text in Google Docs.
How to Insert a Horizontal Line Into a Word 2013 Document (Guide with Pictures)
The steps in this guide will show you how to add a horizontal line to your document. This line will run from the left margin to the right margin. You can add the line through the ribbon, or by entering a specific string of characters. We will show you both methods below.
Step 1: Open your document in Word 2013.
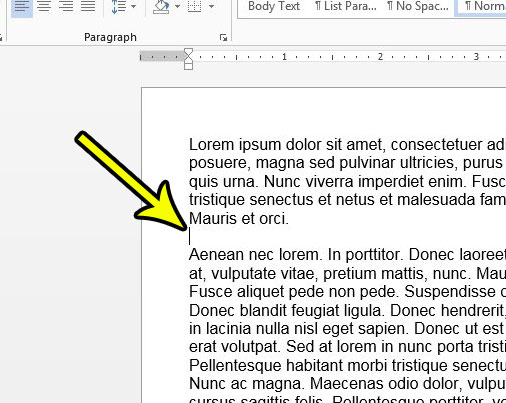
Step 2: Place your cursor at the point in the document where you wish to add the horizontal line.
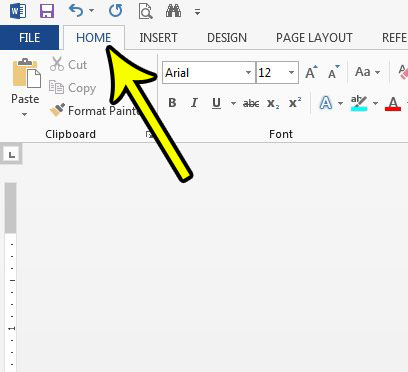
Step 3: Click the Home tab at the top of the window.
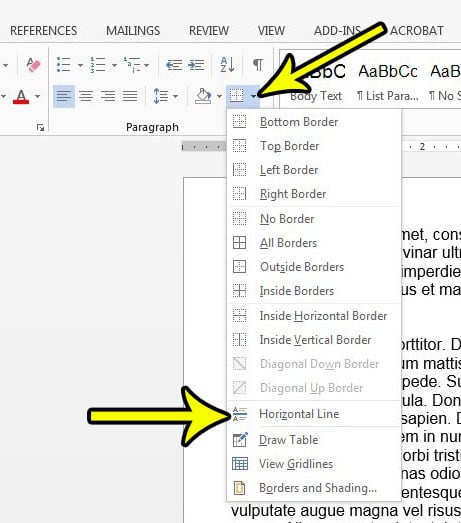
Step 4: Click the arrow to the right of the Borders button, then click the Horizontal Line option.
Now that you know how to insert a line in Word 2013 you will be able to add that type of object whenever you are editing a document that would be improved by an object that can separate one section from another section. As mentioned earlier, this is an alternate way to do this, which we will show below.
Alternate Method for Adding a Horizontal Line in Word
This step is a little quicker, and relies on a shortcut created by a couple of specific characters.
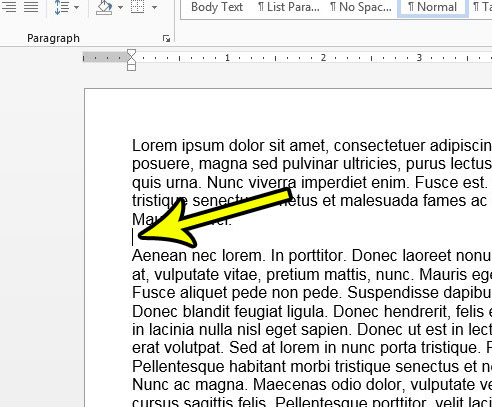
Step 1: Place your cursor at the point in the document where you want to add the line.
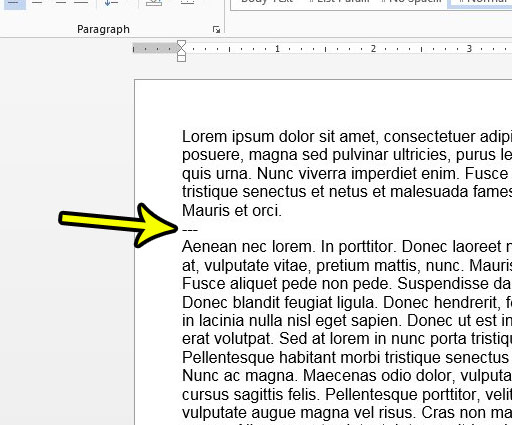
Step 2: Type three “-” characters in a row, then press the Enter key on your keyboard. So you should be typing “—” like is shown in the image below.
Do you have a document that contains sensitive information and you need to send it to someone else? Learn how to restrict that document so that no one is able to edit it unless you give them a password.
Additional Reading
He specializes in writing content about iPhones, Android devices, Microsoft Office, and many other popular applications and devices. Read his full bio here.
